Maintenance Controllers
Deploy ancillary controllers that help automatically maintain the cluster.
Reloader
Referencing ConfigMaps or Secrets in the manifest for a Deployment or StatefulSet is an extremely common Kubernetes pattern. Unfortunately, by default, changes to referenced ConfigMaps or Secrets do not trigger a new rollout of pods for Deployments or StatefulSets. As a result, pods might continue to run with stale data.
The Reloader controller was developed by Stakater to address this gap. With this controller deployed in the cluster, changes to ConfigMaps or Secrets will trigger rolling upgrades on the resources that reference them.
We provide a module to deploy this controller: kube_reloader.
Let’s deploy the Reloader now:
Create a new directory adjacent to your
aws_eksmodule calledkube_reloader.Add a
terragrunt.hclto that directory that looks like this:14 collapsed linesinclude "panfactum" {path = find_in_parent_folders("panfactum.hcl")expose = true}terraform {source = include.panfactum.locals.pf_stack_source}dependency "linkerd" {config_path = "../kube_linkerd"skip_outputs = true}inputs = {}Run
pf-tf-initto enable the required providers.Run
terragrunt apply.
To test that the Reloader is working, let’s renew the VPA webhook certificate: cmctl renew -n vertical-pod-autoscaler vpa-webhook-certs. Notice that the vpa-admission-contoller deployment began a rolling upgrade.
PVC Autoresizer
Many CSI drivers implement the standard Volume expansion API including the AWS EBS CSI driver. However, those are passive APIs that will not actively resize when your PVCs run out of storage capacity.
Fortunately, the PVC Autoresizer project exists. The resizer will monitor your storage volumes and call the volume expansion API as they near maximum capacity.
We provide a module to deploy it: kube_pvc_autoresizer.
Let’s deploy it now:
Create a new directory adjacent to your
aws_eksmodule calledkube_pvc_autoresizer.Add a
terragrunt.hclto that directory that looks like this:14 collapsed linesinclude "panfactum" {path = find_in_parent_folders("panfactum.hcl")expose = true}terraform {source = include.panfactum.locals.pf_stack_source}dependency "metrics-server" {config_path = "../kube_metrics_server"skip_outputs = true}inputs = {}Run
pf-tf-initto enable the required providers.Run
terragrunt apply.
Descheduler
By default, Kubernetes scheduling only concerns itself with initially placing pods on nodes. However, there are many cases where we may want to add some additional logic to control when a pod is evicted from a node:
The pod is violating one of its soft affinities or topology spread constraints.
The pod is stuck in a pending state or a crash loop.
The pod exceeds our maximum lifetime limits.
The standard solution for implementing this behavior is via the Descheduler. This allows us to implement policies for regularly evicting pods based on the above criteria. To ensure the evictions are non-disruptive, the Descheduler respects PodDisruptionBudgets which we provide for all Panfactum modules.
We provide a module for the Descheduler: kube_descheduler.
Let’s deploy it now:
Create a new directory adjacent to your
kube_reloadermodule calledkube_descheduler.Add a
terragrunt.hclto that directory that looks like this:14 collapsed linesinclude "panfactum" {path = find_in_parent_folders("panfactum.hcl")expose = true}terraform {source = include.panfactum.locals.pf_stack_source}dependency "linkerd" {config_path = "../kube_linkerd"skip_outputs = true}inputs = {}Run
pf-tf-initto enable the required providers.Run
terragrunt apply.
Once deployed, you should see all pods that have runtimes over four hours begin to be evicted.
Backups
While having all infrastructure codified in infrastructure-as-code can be extremely helpful during disaster recovery, we are still missing two important capabilities:
The ability to rollback the data of the systems running in the cluster
The ability to accomplish a rollback with a single emergency command
In this section, we will add these capabilities.
Deploy the external-snapshotter
By default, the cluster’s persistent data is stored on PersistentVolumes backed by AWS EBS volumes. This is managed via the kube_aws_ebs_csi module we installed in a prior section.
EBS volumes support point-in-time snapshots that can be used to rollback data to a particular moment. We can enable the ability to create those snapshots via the external-snapshotter controller. This will allow us to create VolumeSnapshots in Kubernetes that will in turn create EBS snapshots in AWS.
We provide a module to deploy the external-snapshotter: kube_external_snapshotter.
Let’s deploy it now:
Create a new directory adjacent to your
kube_deschedulermodule calledkube_external_snapshotter.Add a
terragrunt.hclto that directory that looks like this:14 collapsed linesinclude "panfactum" {path = find_in_parent_folders("panfactum.hcl")expose = true}terraform {source = include.panfactum.locals.pf_stack_source}dependency "aws_ebs_csi" {config_path = "../kube_aws_ebs_csi"skip_outputs = true}inputs = {}Run
pf-tf-initto enable the required providers.Run
terragrunt apply.
Deploy Velero
Velero is a cluster component that adds the Backup custom resource to the cluster. A Backup enables the following functionality:
The ability to export the current state of all Kubernetes resources to an AWS S3 backup bucket
The ability to create point-in-time snapshots of all the PersistentVolumes
The ability to restore the cluster and its data from the Backup by creating a Restore
The ability to regularly schedule (and garbage collect) Backups via a Schedule
We provide a module to deploy this functionality: kube_velero.
This will create hourly backups of the cluster and its data that will allow you to rollback your entire cluster in the case of an emergency.
Let’s deploy the Velero controller now:
Create a new directory adjacent to your
kube_external_snapshottermodule calledkube_velero.Add a
terragrunt.hclto that directory that looks like this:14 collapsed linesinclude "panfactum" {path = find_in_parent_folders("panfactum.hcl")expose = true}terraform {source = include.panfactum.locals.pf_stack_source}dependency "snapshotter" {config_path = "../kube_external_snapshotter"skip_outputs = true}inputs = {}Run
pf-tf-initto enable the required providers.Run
terragrunt apply.
Test Cluster Backups
This test will involve destructive actions. Be sure to verify the results from each step before proceeding to the next to ensure your cluster is not damaged.
Let’s verify that backup functionality is working as expected by simulating an emergency.
Velero has a companion CLI for managing backups called
velero. This comes bundled with the Panfactum devShell. Use it to create a backup now:velero create backup test --waitIn k9s, notice that this created a new Backup resource (
:backup):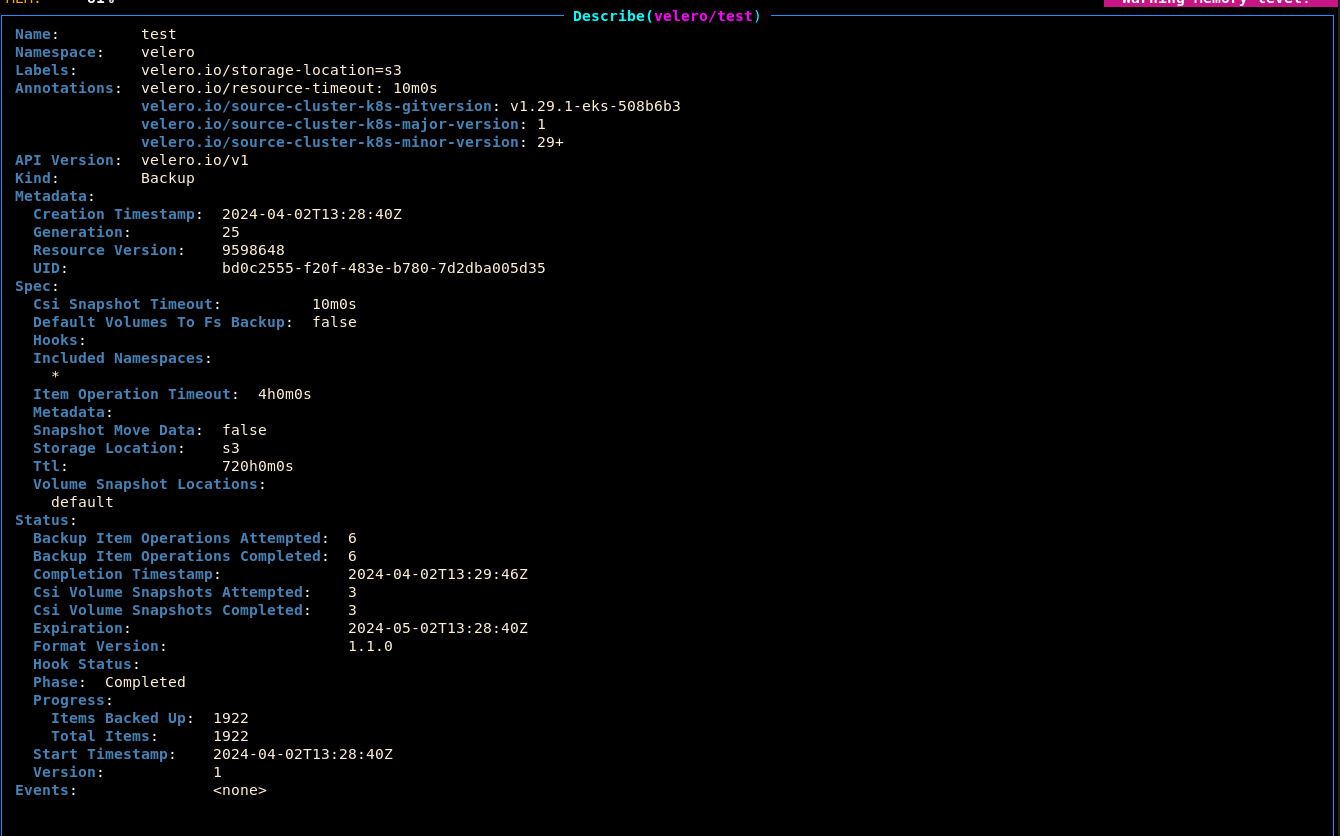
Status.Phaseshould beCompletedto indicate that the backup operation was successful.Open the backup S3 bucket in the AWS web console (the name was provided in the
kube_veleromodule output). Notice that the bucket is populated with the backup data:
This contains all the data stored in the Kubernetes API server when you initiated the backup.
In the AWS console, view the EBS snapshots (EC2 > Elastic Block Store > Snapshots). Notice that all the Vault PVs have had snapshots created:

While these are referenced in the S3 bucket data, they are stored here rather than directly in the bucket.
We will now simulate a disaster.
Delete the
vaultnamespace:kubectl delete ns vault.Delete all PVs in the cluster:
kubectl delete pv --all.By default, we retain the data backing deleted PVs inside of AWS for disaster recovery purposes. Delete these retained copies as well (EC2 > Elastic Block Store > Volumes). For this, only delete the
vault/data-vault-xvolumes, not the other volumes which are not Kubernetes PVs.
Let’s verify that Vault is truly unavailable. Run
vault token lookup. You should receive a connection error.At this point, your cluster would normally be irrevocably damaged. You would not be able to recover without redeploying the entire cluster as the Vault EBS volumes contained root secret material used to power the X.509 infrastructure.
If not addressed, your cluster will stop functioning within a few hours.
Fortunately, we can easily restore from the backup:
velero create restore test --from-backup=test --wait.You may see a status of
PartiallyFailed. In the current iteration of the Panfactum stack we use functionality that Velero does not yet have full support for handling. The warnings that Velero generates when this occurs are inconsequential and can be safely ignored assuming that the desired functionality was restored as expected.Once this completes, notice that the
vaultnamespace and its associated resources have been restored. It may take a few minutes for all systems to come back online.Let’s verify that the data has been restored as well. Run
vault token lookup. If this returns valid information about your token, that means that the Vault data was successfully restored from the backup:Terminal window Key Value--- -----accessor d2aFlPZGeFv9lfuri5ltRlKlcreation_time 1710860509creation_ttl 0sdisplay_name rootentity_id n/aexpire_time <nil>explicit_max_ttl 0sid hvs.xxxxxxxxxxxxxxxxxxxxxxxxmeta <nil>num_uses 0orphan truepath auth/token/rootpolicies [root]ttl 0stype serviceOnce you have verified that functionality is successfully restored, delete the backup:
velero delete backup test.
Next Steps
Now that we have improved the overall stability and resiliency of the cluster, we can begin deploying additional databases to the cluster for more serious workloads.