Identity Provider
Deploy an Identity Provider (IdP) to centralize authentication and authorization for your organization.
Background
A core security tenant is providing a single root directory for managing your organization’s users and permissions. This greatly simplifies identity and access management (IAM), improves the user experience, and reduces the probability of access control mistakes.
Identity and access management is a broad topic which we will not cover in-depth in this guide. However, it is critical to understand a few key terms:
Authentication (Authn): The process of identifying a user (i.e., “logging in”)
Authorization (Authz): The process of controlling what a user has access to
Identity Provider (IdP): A system that serves as the source of truth for information about users and group assignments; can provide this information to other systems in a secure manner
Service Provider (SP): Any system that your users utilize directly (e.g., AWS, Kubernetes, Vault); will often connect to an IdP for information about the users
Federated Auth: The use of protocols such as SAML, OAuth2 / OIDC, or LDAP to connect many SPs to a single IdP.
Single Sign-on: Using a federated auth protocol to facilitate a single means of authentication for your users; does not necessarily facilitate authorization
Role-based Access Control (RBAC): An authorization paradigm that assigns permissions to users based on which groups they are in
For more information, we recommend reviewing our more detailed concept documentation:
Federated Authentication (TODO)
Role-based Access Control in the Panfactum Stack (TODO)
Deploy an Identity Provider
You should only configure ONE root identity provider for your organization. Only complete this guide section ONCE for your production environment (or your most secure environment that contains a Kubernetes cluster).
There are many managed IdPs available and you have likely heard of a few such as Okta or Microsoft Entra ID. However, we strongly recommend self-hosting. Your IdP will control all access to your systems, and leaving this control in the hands of a third-party leaves you vulnerable to outages and security incidents (not to mention egregious pricing).
Fortunately, there are also many production-ready self-hosted IdPs that contain all the same functionality. In our analysis, the most robust and well-integrated tool is Authentik.
We provide both a module to deploy Authentik (kube_authentik) and many modules to connect Authentik to the various systems in the Panfactum stack (e.g., authentik_aws_sso).
Configure AWS SES
Before we deploy Authentik, we need to provide some means for it to send emails to users in your organization to accomplish tasks like password resets or administrator notifications.
AWS provides a service called Simple Email Service (SES) that facilitates email sending via SMTP (the standard protocol for sending email).
Before using it, you must first configure SES to use the domain you want to use send email from (e.g., panfactum.com). We provide a module to do this: aws_ses_domain.
Let’s deploy the module now:
Choose the domain that you want to use for automated email sending. This can be the same domain that you use to send email normally.
Add a new
aws_ses_domainfolder to yourproductionenvironment in the region where you plan to deploy Authentik.Add a new
terragrunt.hclfile that looks like this:9 collapsed linesinclude "panfactum" {path = find_in_parent_folders("panfactum.hcl")expose = true}terraform {source = include.panfactum.locals.pf_stack_source}dependency "aws_vpc" {config_path = "../aws_vpc"}inputs = {smtp_allowed_cidrs = concat([dependency.aws_vpc.outputs.vpc_cidr],dependency.aws_vpc.outputs.nat_ips)// Replace with your sending domain.//MUST be a domain that has its Route53 zone in the environment.domain = "REPLACE_ME"}Run
pf-tf-initto enable the required providers.Run
terragrunt apply.Log into the AWS web console and navigate to the SES service. Under “Get set up,” notice that your SES configuration may be in Sandbox mode:
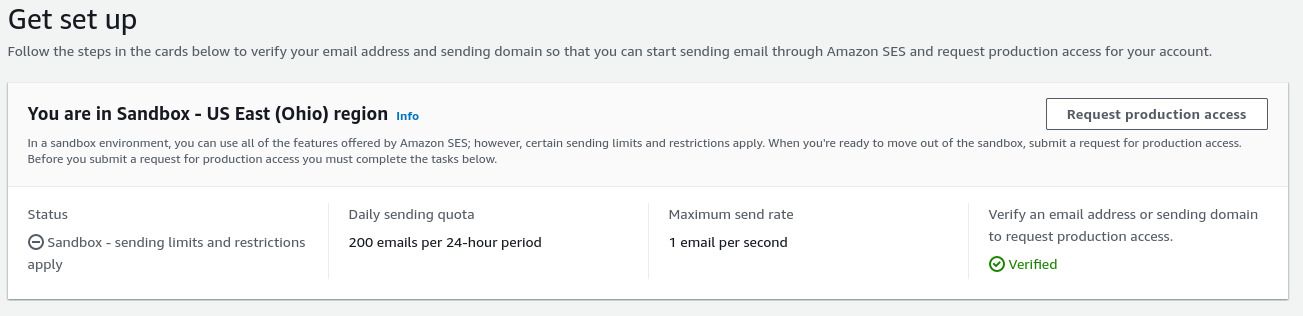
Depending on your needs, you may need to request production access to authorize your account for more permissive email sending. AWS adds this extra gate-keeping step to guard against spam senders.
(Optional) This module does not configure your DMARC record as you would typically only have one DMARC record that covers all of your email sending systems. We recommend following this guide to set this up. You can use the aws_dns_records module to deploy the record.
Deploy Authentik
We are now ready to deploy Authentik:
Add a new
kube_authentikfolder adjacent to youraws_ses_domainfolder.Add a new
terragrunt.hclfile that looks like this:19 collapsed linesinclude "panfactum" {path = find_in_parent_folders("panfactum.hcl")expose = true}terraform {source = include.panfactum.locals.pf_stack_source}dependency "cnpg" {config_path = "../kube_cloudnative_pg"skip_outputs = true}dependency "kyverno" {config_path = "../kube_kyverno"skip_outputs = true}dependency "ses_domain" {config_path = "../aws_ses_domain"}inputs = {smtp_host = dependency.ses_domain.outputs.smtp_hostsmtp_user = dependency.ses_domain.outputs.smtp_usersmtp_password = dependency.ses_domain.outputs.smtp_passwordemail_from_address = "no-reply@${dependency.ses_domain.outputs.domain}" // The user (e.g., `no-reply`) is arbitrary.// Should be a subdomain of one of the domains available in this environment.// Example: authentik.panfactum.comdomain = "REPLACE_ME"// Should be a real email address that will be used for the initial root authentik user.// Example: it@panfactum.comakadmin_email = "REPLACE_ME"}Run
pf-tf-initto enable the required providers.Run
terragrunt apply.This may take about 5-10 minutes to fully deploy as Authentik completes its initialization.
Once this completes, run
terragrunt output -jsonto retrieve the sensitive outputs.Save the
akadmin_bootstrap_tokenvalue in your.envasAUTHENTIK_TOKEN. Save theauthentik_urlas theauthentik_urlfield in yourglobal.yaml. This will be used by the Authentik OpenTofu (Terraform) provider in subsequent steps to configure Authentik.AUTHENTIK_TOKEN=REPLACE_MEauthentik_url: REPLACE_MENavigate to the
domainyou configured in step 2 in a web browser. You should receive a login prompt like this (may have different branding):
Sign-in with the username
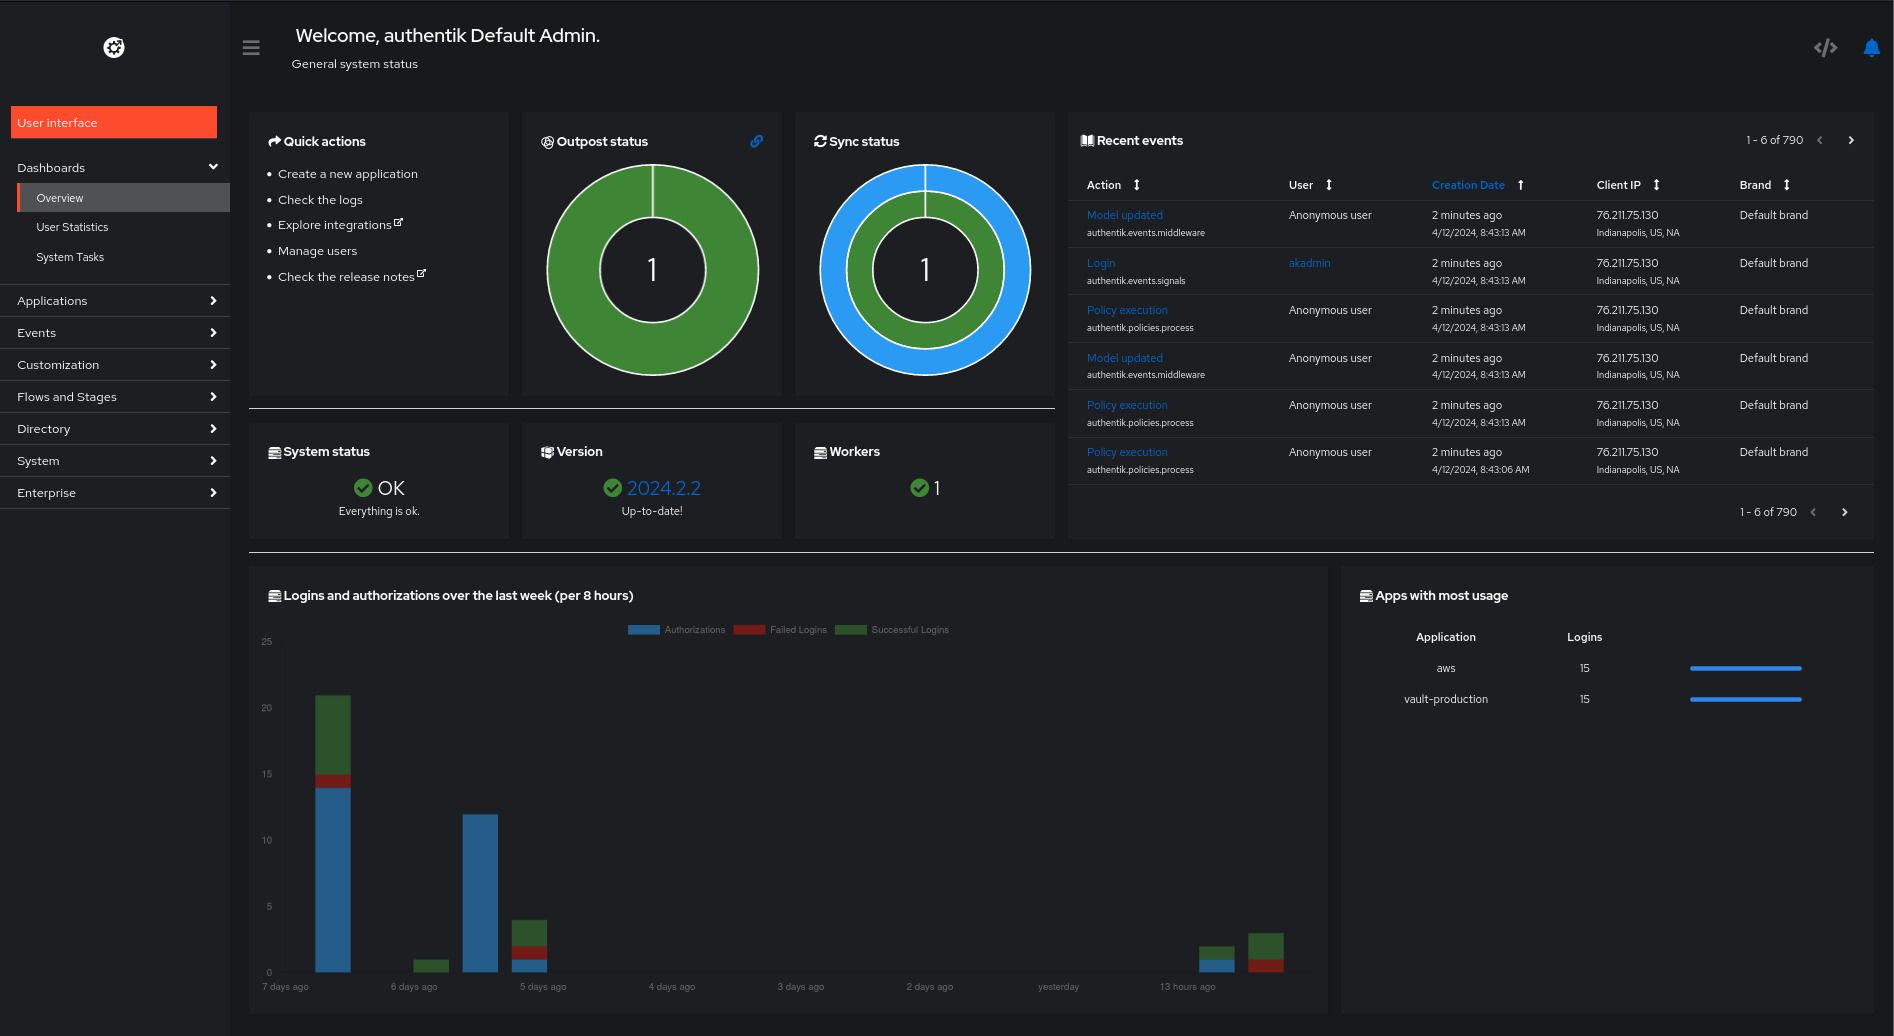
akadminand theakadmin_bootstrap_passwordfrom your module outputs.After successful sign-in, click the “Admin Interface” button in the top-right (if not already in the admin dashboard):

You should reach a dashboard that looks like this:
Navigate to System > Brands. Edit the
authentikbrand. Disable theDefaultsetting. This will conflict with the automated setup in the next guide section.
Configure Authentik - Automated Set Up
Out-of-the box, Authentik provides a nearly blank slate with only enough to facilitate the initial admin login. We provide a module that augments this initial setup with more secure authentication flows, recovery flows, and branding: authentik_core_resources.
This module also allows you to define user groups. Groups in Authentik will be assigned to roles in service providers as the foundational mechanism for implementing RBAC across your ecosystem. See the Panfactum RBAC reference for more information.
Of particular note is the superusers group which will receive root access to every system deployed by a Panfactum module.
Let’s deploy this configuration now:
Add a new
authentik_core_resourcesfolder adjacent to yourkube_authentikfolder.Add a new
terragrunt.hclfile that looks like this:9 collapsed linesinclude "panfactum" {path = find_in_parent_folders("panfactum.hcl")expose = true}terraform {source = include.panfactum.locals.pf_stack_source}dependency "kube_authentik" {config_path = "../kube_authentik"}inputs = {authentik_namespace = dependency.kube_authentik.outputs.namespaceemail_templates_configmap = dependency.kube_authentik.outputs.email_templates_configmapmedia_configmap = dependency.kube_authentik.outputs.media_configmap// How you want your organization to be referenced on the Authentik web UI.organization_name = "REPLACE_ME"// Should be the root domain on which the Authentik subdomain is hosted.// Example: "panfactum.com" if Authentik is hosted at "authentik.panfactum.com"organization_domain = "REPLACE_ME"// Optional: logo_svg_b64 = filebase64("${get_terragrunt_dir()}/logo.svg")// Controls whether members of the `superusers` group require hardware tokens such as Yubikeys (https://www.yubico.com/)// to authenticate. We *strongly* recommend setting this to `true`.superusers_require_webauthn = true}Run
pf-tf-initto enable the required providers.Run
terragrunt apply.After a few minutes, when you reload the site, you should see updated branding.
Provision your User
Now that Authentik is bootstrapped, we will stop using the insecure bootstrapped user and switch to a personal user account.
Create your user
Navigate to Directory > Users.
Select “Create”.
Set your email as the
Username.Set your name as the
Name.Set
internalas theUser type.Set your email as the
Email.Use the default for the other settings.
Assign the user to the
superusersgroup to ensure it will have root access to all systems.Select your newly created user from Directory > Users.
Select the Groups tab.
Select “Add to existing group.”
Select the
superusersgroup.
Reset the new user’s password.
Select the user.
On the Overview tab, click the “Email recovery link” button in the sidebar:
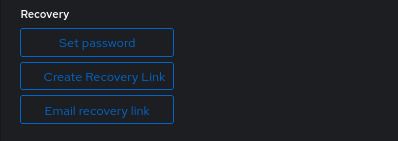
Select the
panfactum-recovery-emailstage.In a minute or two, you should receive a recovery email at your user’s email address:
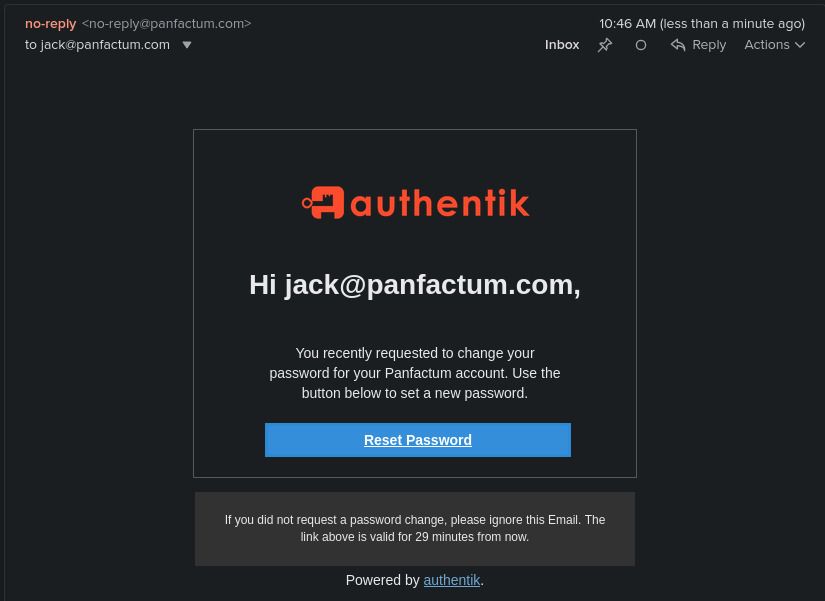
If Authentik is configured to send emails from a domain that is different that your user’s email domain, AWS SES will reject the email while in sandbox mode (see above).
You should resolve this issue, but you can continue with the guide by clicking on “Create Recovery Link” instead.
Clicking on the link, you will be greeted with a prompt to set up a new password. Enter one.
Next, you will need to set up your preferred MFA method. Since you are in
superusers, you may need to use WebAuthn for which we recommend Yubikeys.After configuring MFA, you should be successfully logged in.
Provision a new API token.
Navigate to Directory > Tokens and App passwords.
Select “Create.”
Use a meaningful name for
Identifier.Assign this to your new
User.Set
API Tokenas theIntent.Adding a meaningful
Description.We recommend using a short-lived, expiring token as the credential will have root access to Authentik and thus every system in your ecosystem. Generally, you will only need this for initially setting up the Authentik infrastructure modules which will not change frequently.
Once the token has been created, copy it to your clipboard via the copy button on the far right of the token’s row in the Tokens table.
Set it as the
AUTHENTIK_TOKENin your.env, replacing the bootstrap token.AUTHENTIK_TOKEN=REPLACE_MERun
terragrunt applyon theauthentik_core_resourcesmodule to ensure that it is working correctly.
Disable the bootstrap user. This user is no longer necessary and is not as secure as your new superuser.
Delete the
authentik-bootstrap-tokenfrom the Tokens table.Navigate to Users > Directory.
Edit the
akadminuser.Set
Is activeto false.Click “Update.”
(Recommended) Add a secondary MFA device in case you lose or damage your primary. If you skip this step, you increase your risk of becoming locked out of your entire ecosystem permanently.
Select “User interface” in the Admin dashboard sidebar.
Click “Settings” (top-right).
Select “MFA Devices.”
Enroll an additional WebAuthn device (or TOTP if you are using TOTP).
Next Steps
Your IdP is now fully configured and ready to be connected to the other systems set up in this guide such as AWS, Kubernetes, and Vault.