Certificate Management
Deploy the foundational components for managing X.509 certificate infrastructure.
Background
In this and the following sections we will be deploying various systems for managing your network’s cryptography. For a detailed discussion of the fundamental concepts and motivations, we strongly recommend reviewing our concept docs on network cryptography for the relevant background information.
Deploy cert-manger
cert-manager is the de-facto standard tool for managing X.509 certificates in Kubernetes. It handles the entire certificate lifecycle: provisioning, deployment, and renewal. Additionally, it works with both public certificate authorities (e.g., Let’s Encrypt) and private CAs (e.g., Vault).
We provide a module for deploying cert-manager: kube_cert_manager.
Let’s deploy it now:
Create a new directory adjacent to your
kube_vaultmodule calledkube_cert_manager.Add a
terragrunt.hclto that directory that looks like this:19 collapsed linesinclude "panfactum" {path = find_in_parent_folders("panfactum.hcl")expose = true}terraform {source = include.panfactum.locals.pf_stack_source}dependency "cilium" {config_path = "../kube_cilium"skip_outputs = true}dependency "vault_core" {config_path = "../vault_core_resources"skip_outputs = true}inputs = {}Run
pf-tf-initto enable the required providers.Run
terragrunt apply.
You should now see the cert-manager pods running:

As you might notice, cert-manager comes with three deployments:
controller (unlabeled): The primary system for managing the certificate lifecycle
cainjector: Injects CA data into webhooks to facilitate mTLS
webhook: Validates and mutates cert-manager CRDs submitted to the Kubernetes API server
Additionally, notice that several CustomResourceDefinitions (CRDs) were installed in the cluster:

These CRDs extend the Kubernetes API to allow us to create new types of resources such Certificates which cert-manager will handle.
Deploy Issuers
Creating certificates using cert-manager is a two-step process:
Create an Issuer which instructs cert-manager on how to create a certificate.
Create the Certificate by indicating which Issuer to use.
You can read more about this process in the cert-manager documentation here.
We provide a module to set up the issuers required by the Panfactum stack: kube_cert_issuers.
This module creates three different types of issuers:
An issuer for public certificates signed by Let’s Encrypt used by your public services
An issuer for internal certificates signed by your Vault cluster for use in securing internal network traffic such as which webhooks
An issuer for internal intermediate CA certificates signed by your Vault cluster by tools like the service mesh (next section)
Let’s deploy it now:
Create a new directory adjacent to your
kube_cert_managermodule calledkube_cert_issuers.Add a
terragrunt.hclto that directory that looks like this:9 collapsed linesinclude "panfactum" {path = find_in_parent_folders("panfactum.hcl")expose = true}terraform {source = include.panfactum.locals.pf_stack_source}dependency "cert_manager" {config_path = "../kube_cert_manager"skip_outputs = true}inputs = {vault_internal_url = dependency.vault.outputs.vault_internal_url// The `alert_email` will receive notifications if your certificates fail to renew. Set it to// an email that is actively monitored to prevent unexpected service disruptions.alert_email = "REPLACE_ME"// See below for instructionsroute53_zones = {"REPLACE_ME" = {zone_id = "REPLACE_ME"record_manager_role_arn = "REPLACE_ME"}}}Let’s walk through the
route53_zonesinput:When creating certificates for use in creating TLS connections to particular domains, cert-manager must have the ability to create DNS records as a part of Let’s Encrypt’s DNS challenge flow. That means cert-manager needs access to our AWS Route53 zones that host our DNS records for the cluster’s environment.
In the prior DNS guide, we configured DNS in the aws_registered_domains and aws_delegated_zones modules under
production/global. If you are setting up an environment other than production, we cannot reference them in terragruntdependencyblocks. Instead, we must copy the necessary values manually from the module outputs.To retrieve the outputs, change your directory to the desired modules and run
terragrunt output. You will see an output that looks like this: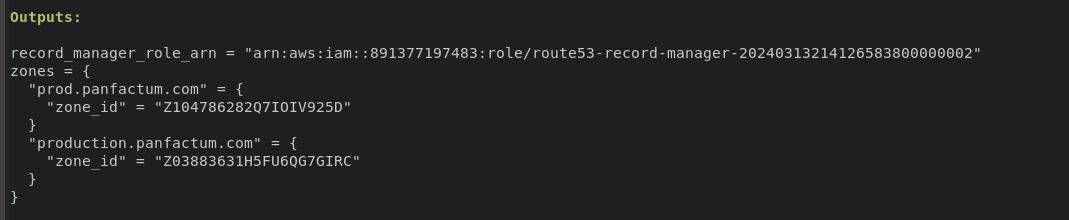
The
record_manager_role_arndefines the IAM role that can create records in the every zone created by the module. Thezone_idis the unique internal AWS identifier for the Route53 zone hosting records for the domain.
Run
pf-tf-initto enable the required providers.Run
terragrunt apply.
Deploy the First Certificate
Let’s ensure that the certificate infrastructure is working as expected.
As context, many projects come with a mechanism to generate their own certificates for ease-of-use. However, in a production setting these self-generated certificates are not ideal:
They may contain insecure ciphers
You cannot control their rotation frequency
They are signed by private keys that can be easily extracted from the cluster
They are not visible in our centralized observability tooling
In the Panfactum stack, we ensure that all internal utilities components use the centrally managed Vault certificates.
Let’s replace the self-generated cert-manager webhook certificates with ones generated by Vault:
Return to the
kube_cert_managermodule.Set
self_generated_certs_enabledtofalseas we can now use securely provisioned certificates.19 collapsed linesinclude "panfactum" {path = find_in_parent_folders("panfactum.hcl")expose = true}terraform {source = include.panfactum.locals.pf_stack_source}dependency "cilium" {config_path = "../kube_cilium"skip_outputs = true}dependency "vault_core" {config_path = "../vault_core_resources"skip_outputs = true}inputs = {self_generated_certs_enabled = false}This will instruct the module to instead use the internal certificate issuer created by
kube_cert_issuers.Run
terragrunt apply.After a few moments, the module should successfully update. Using k9s, you should now be able to find your first Certificate resource (
:certificate):
A Certificate is an abstract resource that ultimately results in certificate data stored in a corresponding Secret. Note that in the above image, there is a column named Secret that points to the Secret resource. Navigate to
:secretsand describe (d) thecert-manager-webhook-certsSecret: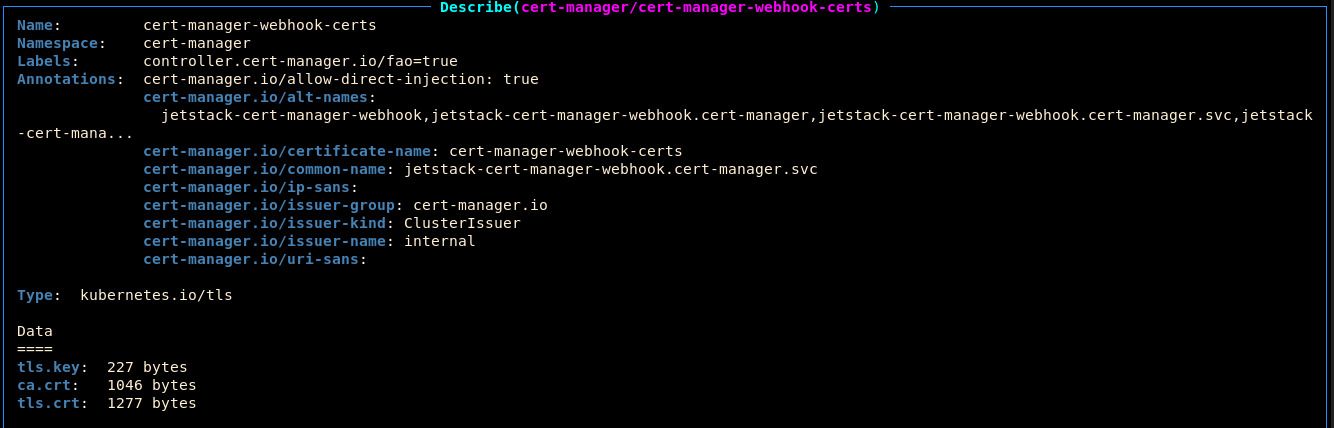
Notice that there are three pieces of data in the secret:
tls.key: The private key for the certificatetls.crt: The actual public X.509 certificateca.crt: The public certificate of the certificate authority that signed thetls.crt
You can decode secrets in k9s by pressing
x: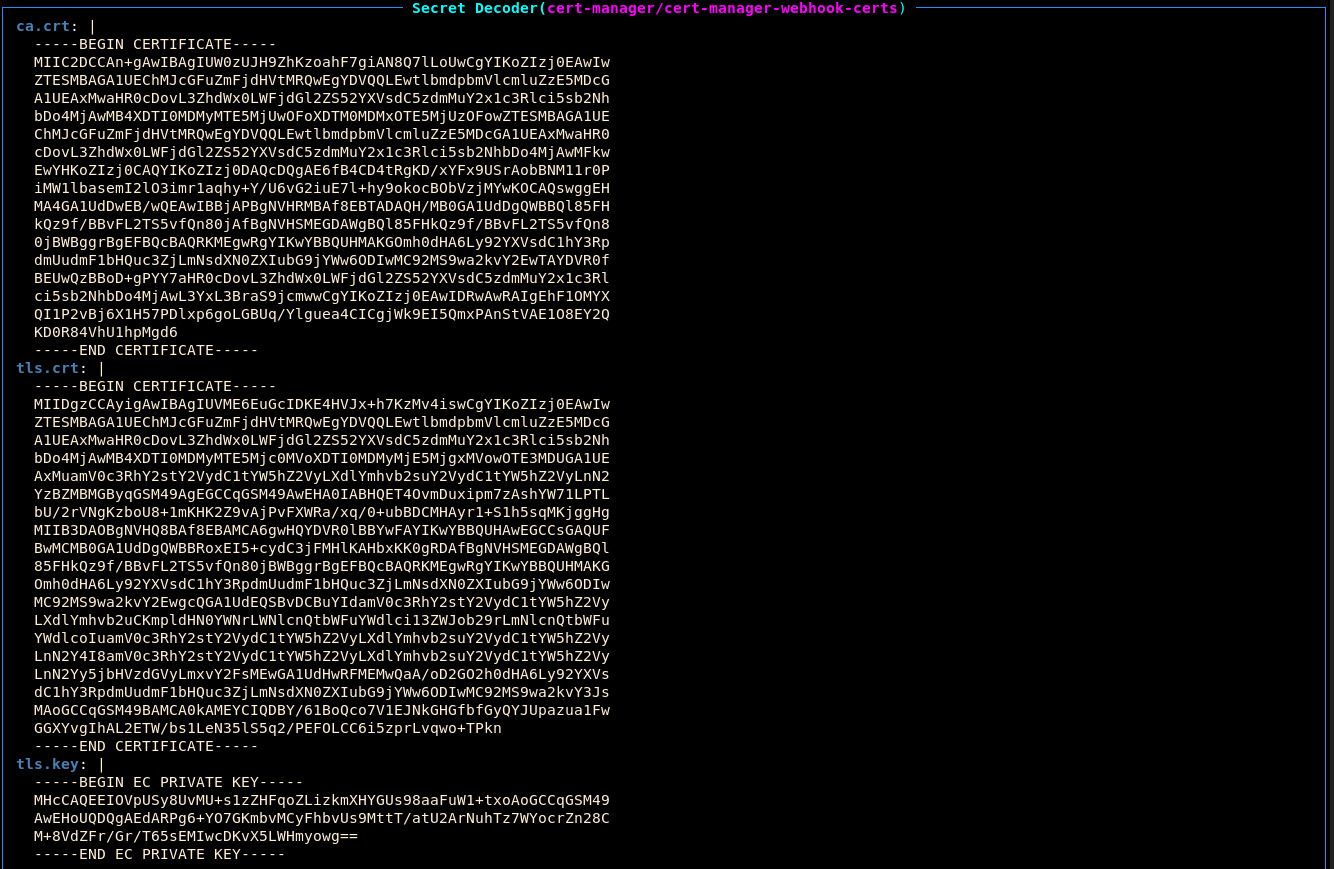
You can copy the secret data by pressing
c.Copy the
tls.crtcertificate to a decoder to view the metadata: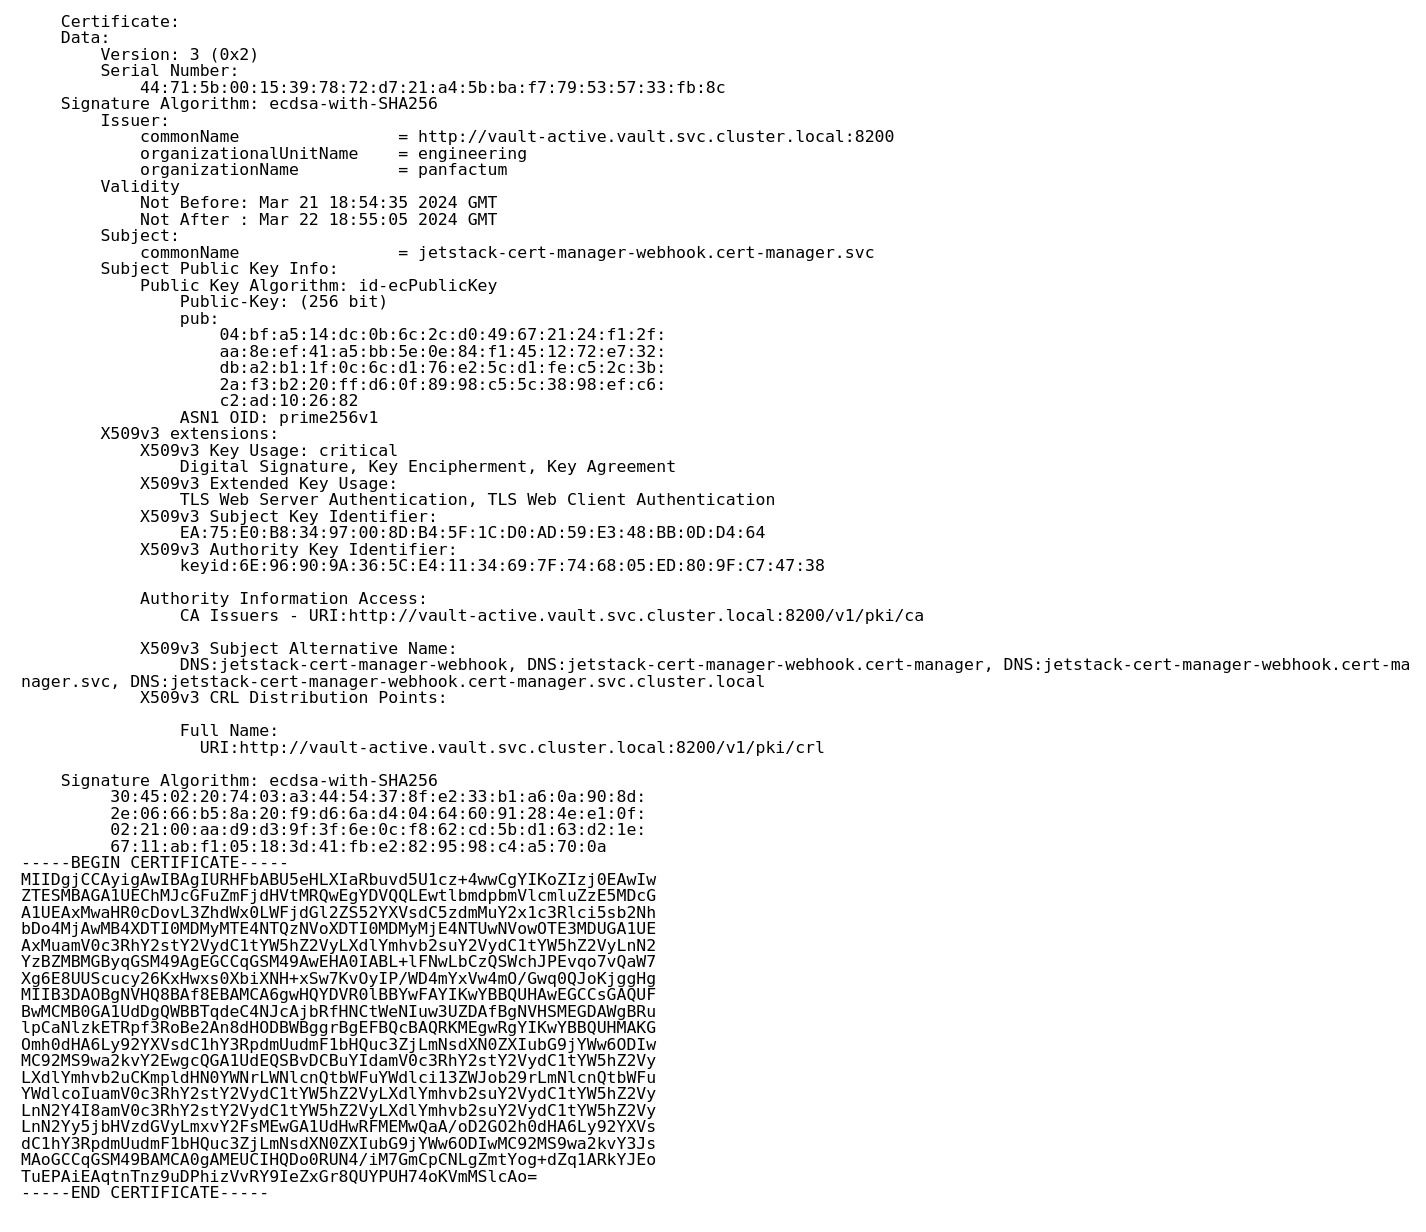
cert-manager has a companion CLI called
cmctlto aid in managing certificates. The Panfactum devShell already bundles it. Let’s manually rotate the certificate a few times to ensure the certificate rotation infrastructure is working as intended:cmctl -n cert-manager renew cert-manager-webhook-certs.
Congratulations! We have just verified that the internal certificate provisioning process works as intended. We will test public certificates when we deploy our ingress system in a future guide section.
Next Steps
Now that internal certificate management is working, we will build upon that foundation to deploy a service mesh which will ensure that all network traffic in the cluster is secured with mTLS.